Quickstart
To integrate and launch the loyalty feature on your website or application, follow these three simple steps:
- Get the API Key and Webhook Endpoint URL
- Understand the event payload format
- Sending the event to the Webhook
- Check your event
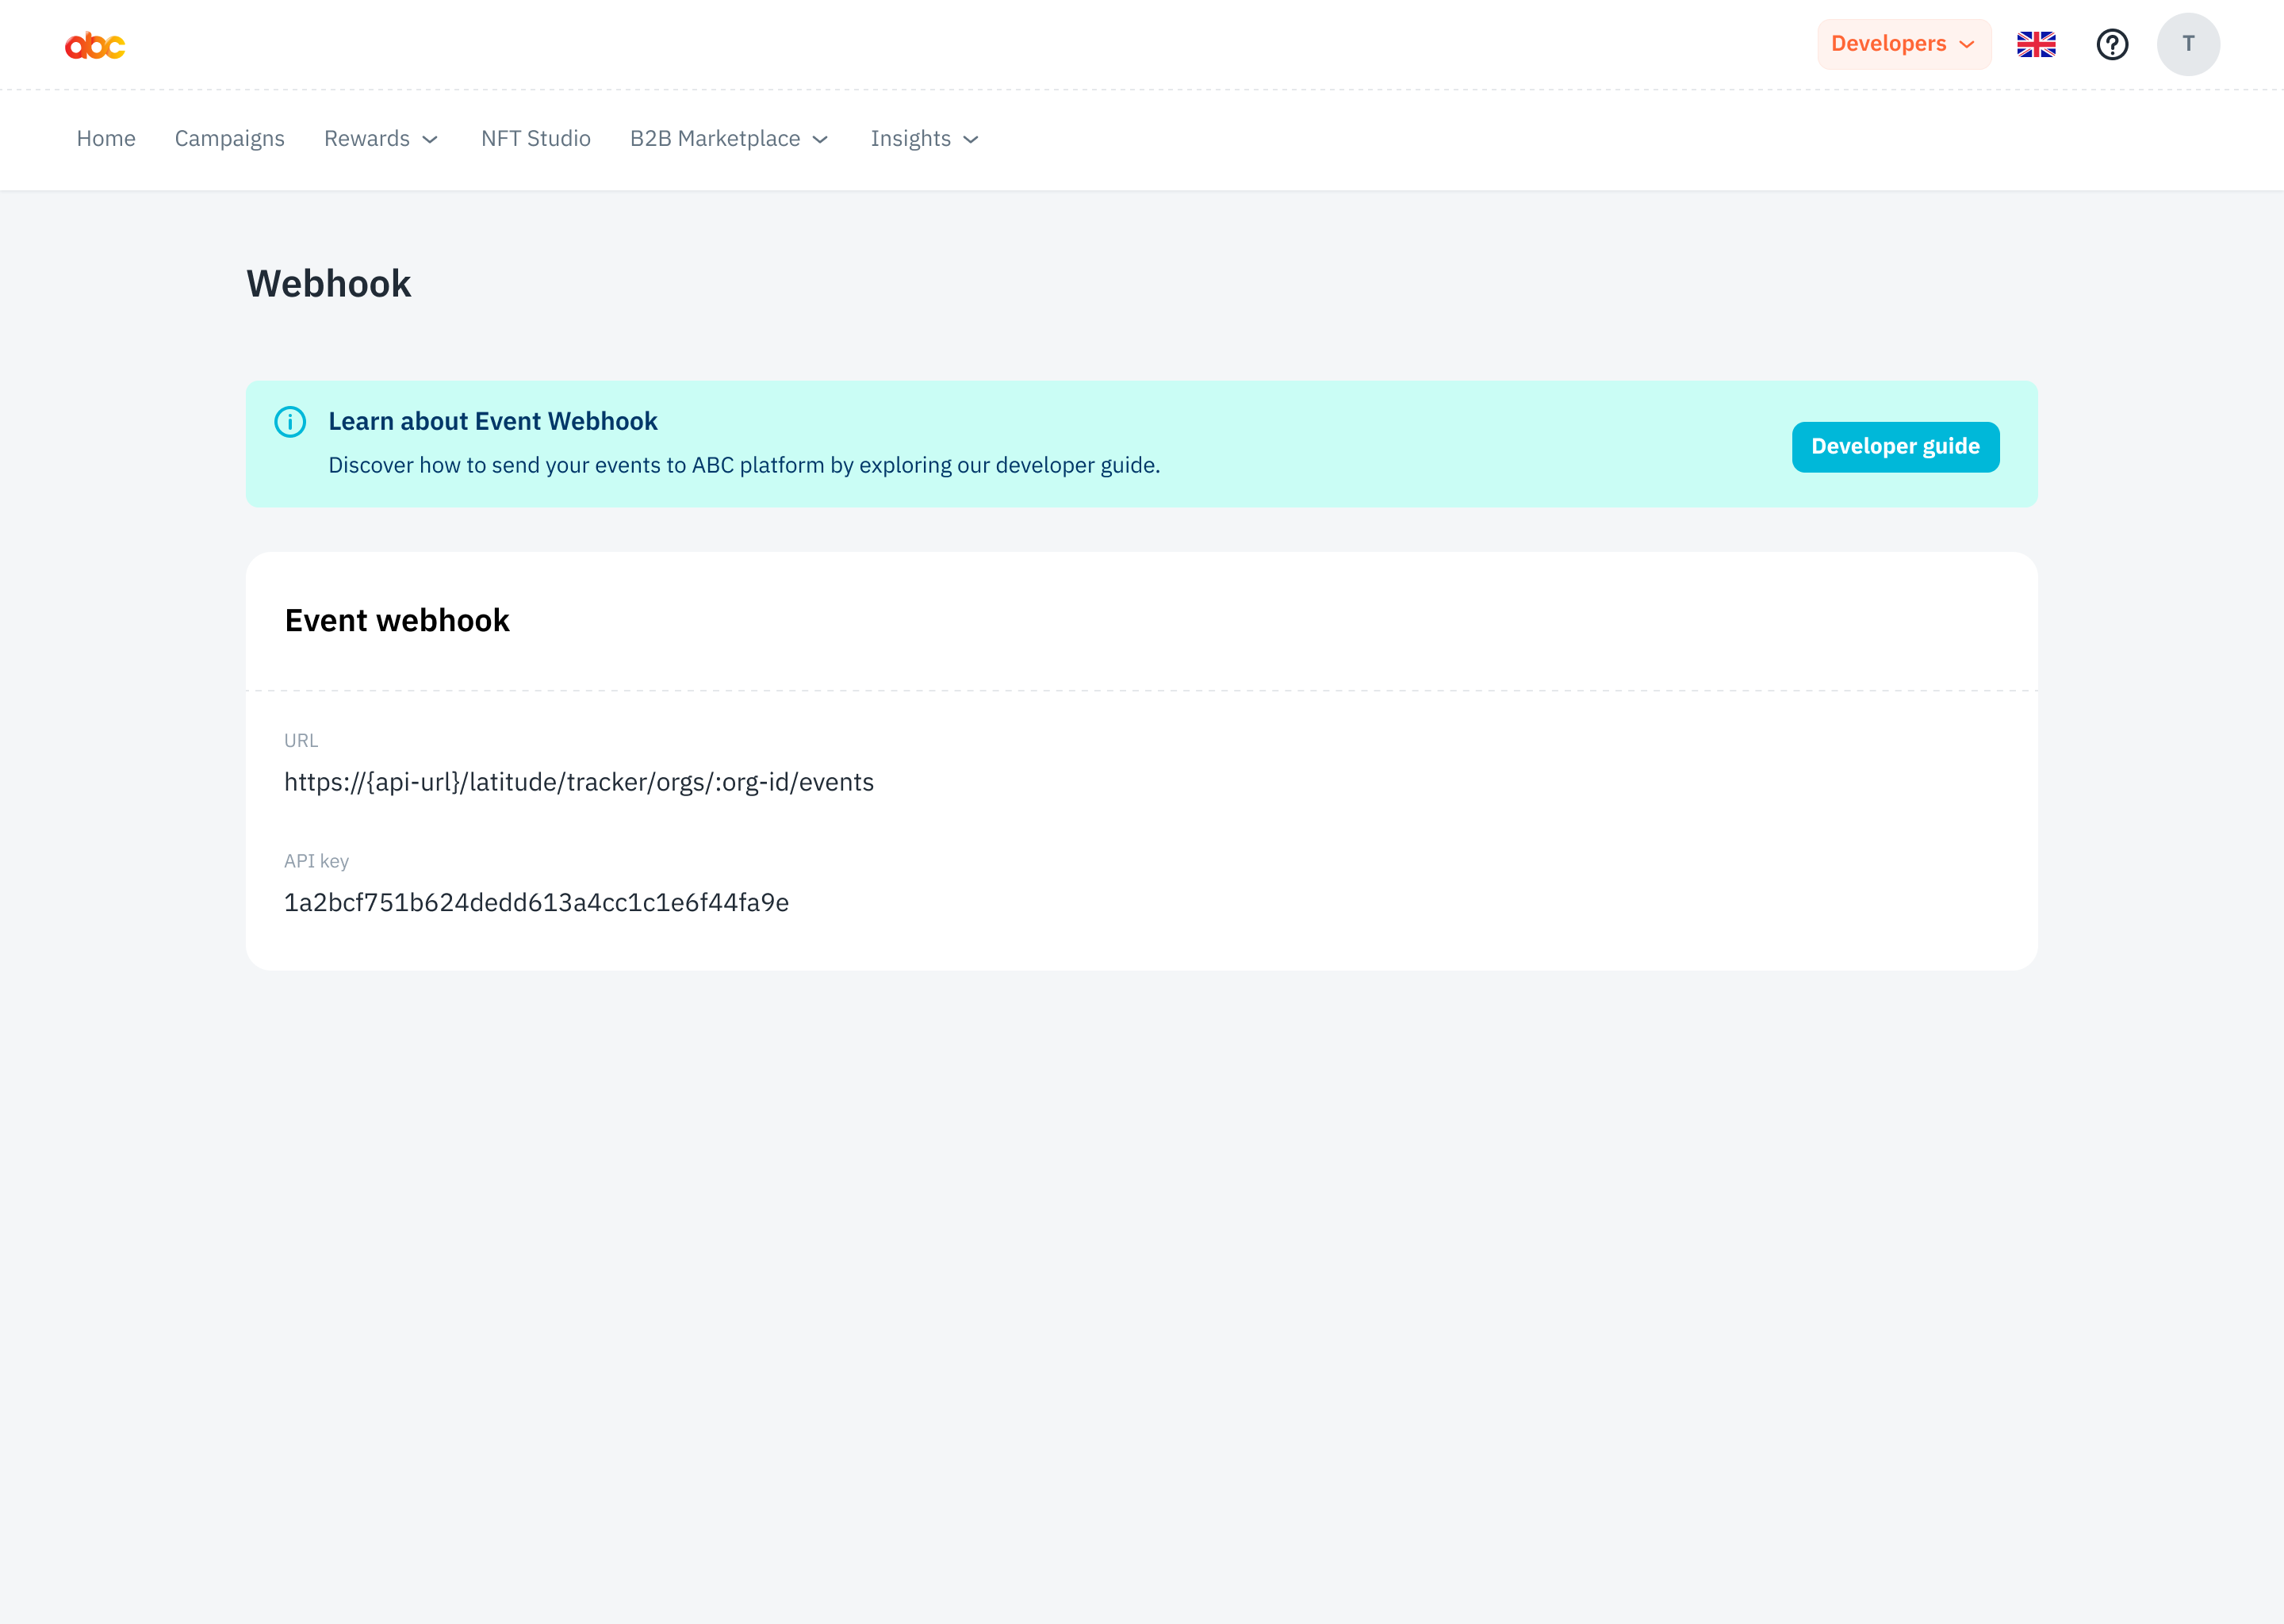
Get the API Key and Webhook Endpoint URL
To get started with using ABC Loyalty 3.0's event tracking API, you'll need to obtain your API key and webhook endpoint from the Developer > Webhook (opens in a new tab) menu. Once you have these, you can start sending data payloads to the SaaS server.
Event payload format
The data payloads consist of an array of events, in a JSON format. Each event has several fields, including the type of event being tracked, a unique identifier for the event, a unique identifier for the user who triggered the event, and a timestamp for when the event occurred.
The payload can also include additional information about the event, such as the user's location or the device they were using, as well as quantitative data like the duration of a video view or the number of items added to a cart.
[
  {
    "event": "Watch Video",
    "eventId": "string",
    "userId": "string",
    "time": "2023-02-16T04:50:47.857Z",
    "labels": {
      "additionalProp1": "string",
      "additionalProp2": "string",
      "additionalProp3": "string"
    },
    "metrics": {
      "additionalProp1": "string",
      "additionalProp2": "string",
      "additionalProp3": "string"
    }
  },
  {...}
]
The information is as follows:
| Field | Type | Description |
|---|---|---|
| event | string | Type of event that is being triggered or tracked. This could refer to anything from a button click to a video view and is used to classify and group similar types of events together for better tracking and analysis. For example, if you were tracking user engagement on a website, you might use "event" to identify different types of user actions, such as "page_view", "click", "form_submission", or "video_view". |
| eventId | string | A unique identifier for each event, and it helps to prevent duplicate events from being recorded. This could be a randomly generated string or a sequential number for eventId. |
| userId | string | A uniquely identify the user who triggered the event, and this identifier can take various forms such as a user ID, username, email address, or some other identifier that can uniquely identify the user. The purpose of this field is to enable tracking and analysis of user behavior and engagement on the platform. |
| time | string | A timestamp in ISO 8601 format that represents when the event occurred. This information can be used to analyze user behavior and engagement on a platform by calculating metrics like time spent on a page, the frequency of specific events over time, and more. |
| labels | object | A set of key-value pairs that provide additional information about the event. You can use this field to include any additional metadata that they want to associate with the event. For example, if the event is a video view, the labels field could include information about the video being viewed, such as the video ID, title, or category. Similarly, if the event is a button click, the labels field could include information about the button that was clicked, such as its ID, text, or position on the page. The labels field is flexible and can be customized to meet the specific needs of the developer and the application. |
| metrics | object | A set of key-value pairs that provide quantitative data about the event to analyze user behavior and measure the effectiveness of different features or campaigns. By tracking metrics like conversion rates, click-through rates, and engagement levels, companies can gain valuable insights into how users interact with their platform and identify opportunities for improvement. |
Reserved Properties
Avoid using event payload properties starting with “$” as they are reserved for internal system use and may cause unexpected errors.
To avoid any issues and ensure everything works correctly, please do not use properties with names that start with "$" in your event payload.
Sending the event to the Webhook
To send an Event Payload to the webhook endpoint, developers can use the following example code:
curl --location '{webhook-url}' \
--header 'Content-Type: application/json' \
--header 'Authorization: Bearer {api-key}' \
--data '[
          {
              "event": "Watch Video",
              "eventId": "ef99f496-94e5-45cd-80f9-c9e4d2730769",
              "userId": "10003227577",
              "labels": {
                  "location": "San Francisco",
                  "device": "iPhone",
                  "videoId": "abc123"
              },
              "metrics": {
                  "duration": "120",
                  "progress": "0.5"
              }
          }
      ]'
In this example, the API key and webhook endpoint URL are included in the Authorization header. The event payload is included in the request body as a JSON array.
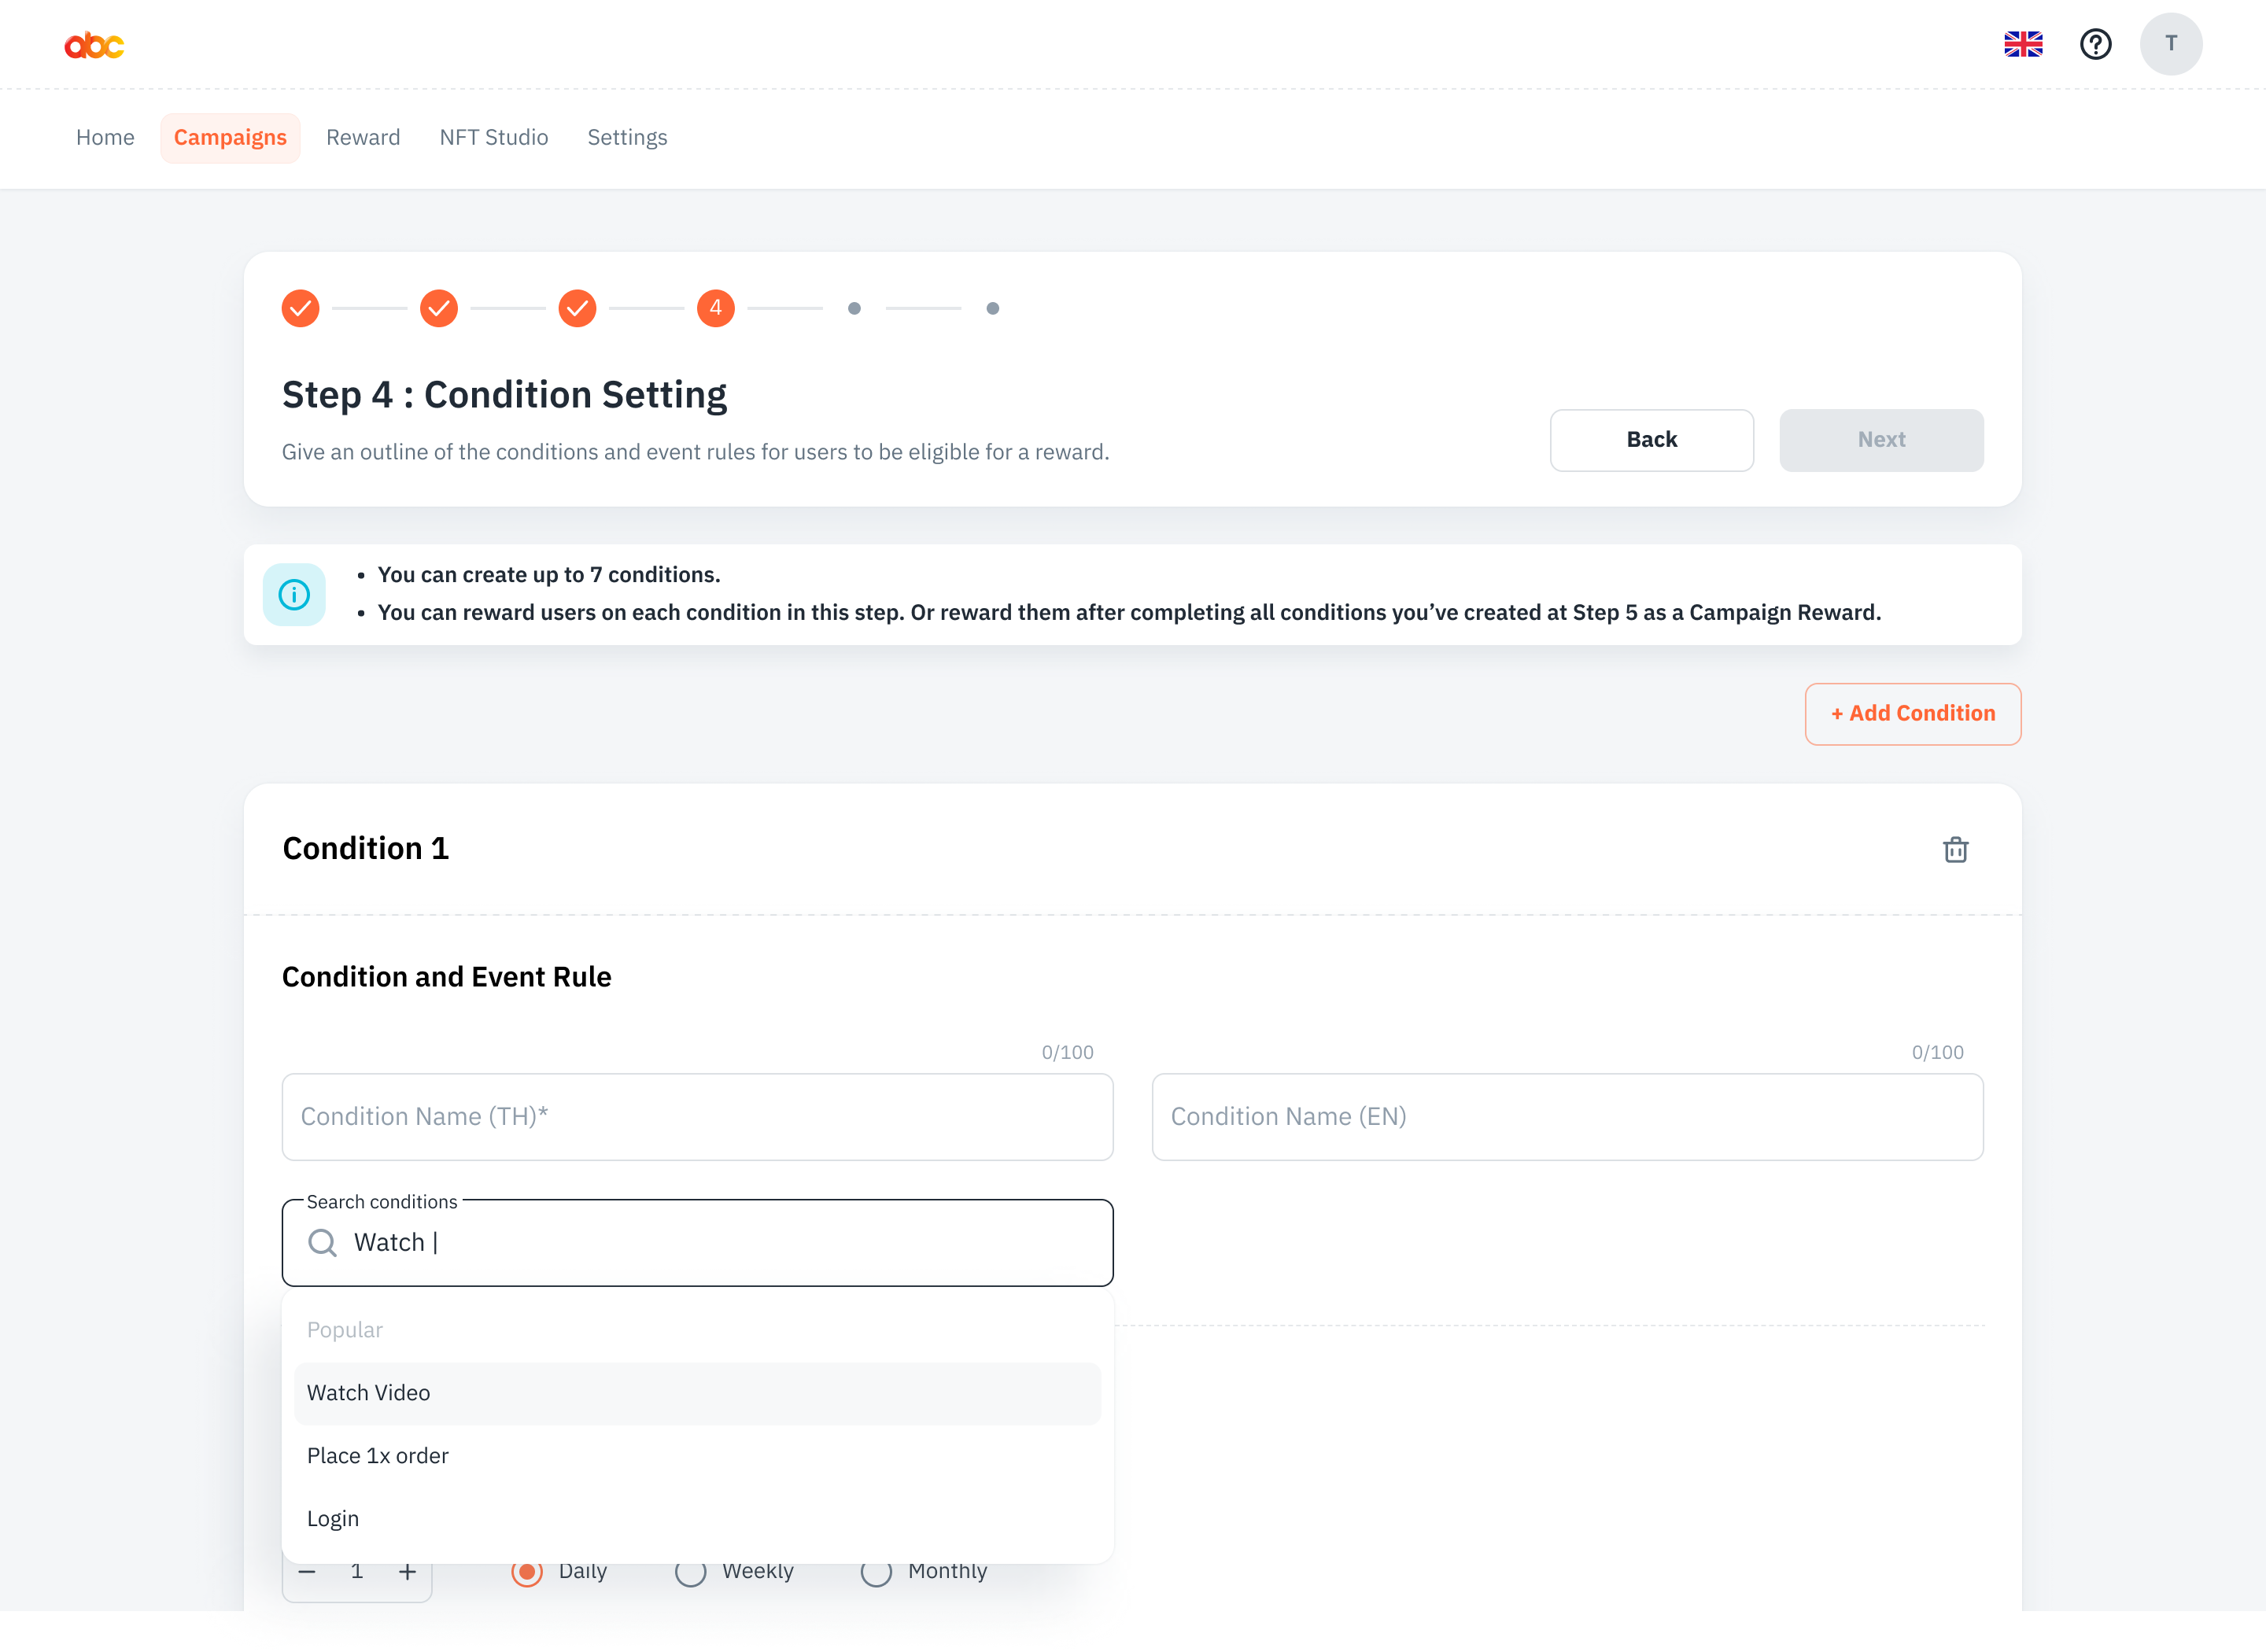
Check your event
To check your event, simply search for it in the condition settings page of your campaign using the Dashboard.
Additional Resources
To access URLs for staging or production environments, please refer to the API Overview.